I have long wanted to take pictures at night but I've never been able to get the proper setting to get more detail than a big blur of moving light, that is, until last night! I am so excited about this discovery and I foresee a lot more night pictures in the future.
The night started out normal, like any night. Hubs went to bed early because he was up so early for work. Little guy was in bed from a broken heart, the girl he befriended that day HAD to go home and he was devastated for the rest of the night. And the girls were lounged out on the couches after a full day of playing in the water and sunshine with a friend from school. Ahh, summer vacation.
Back to my moon discovery. So as the girls lounged out, I was starting to "shut down" the house, closing windows, turning off lights and I saw this amazing shadow on the ground outside. I thought, well, we either have a full moon or are about to see one soon with all this light swimming on the grounds. Outside I went to see what the moon looked like. It was beautiful, a beautiful shape, the clouds moving so quickly trying to obscure my view but leaving these dancing shadows of amazement.
I had to run and find my camera.
Well, I thought I was so great because I got out my tripod and figure surely, if i just put my camera on the tripod I can get a clear photo of the moon. Of course I have tried this countless times never to have it work quite to my liking, why did I think tonight would be any different? Because it was meant to be.
First couple of shot, disappointing and frustrating:
I did not want to give up, I needed to capture that moon! I sat there, in the middle of the night, somewhat unnerved that the bugs of the night were watching me, planning their attack, do not give up!
I futzed around with the settings, tried again, and the picture came out just dark:
Hey, maybe I needed to lighten it up so I messed around with the brightness and got this:
And then, finally, I hit the function I needed. Technical terms I cannot provide but I can provide pictures of all my settings to help you attain some Moon picture action too!
The right brightness, setting, shutter speed and I got the moon picture in all it's glory. So now, the technicalities to help you get to this point too, but they'll be in the form of pictures since my camera lingo skills are pretty much non-existent.
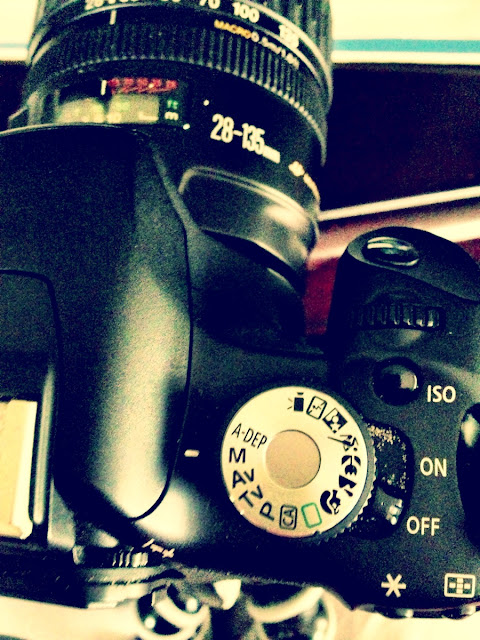
This is my beloved camera that I use for almost all my shots: Canon Rebel T1i
This was the set up to capture the moon, the tripod to eliminate any of the shaking I'm surely going to do while holding the camera.
The setting was on M, not sure what M stands for but just use it. (never mind that Hawaiian sand the Eeeekkkkk has taken up homage in my camera settings)
And then all the other stuff, the -2 is very faint but that is the setting it was on. ISO 3200 which is the highest bright setting for my particular camera, no idea what 1/15 stands for, but I messed around until I got to this and got the shot I wanted....and the F22, again, no idea what it stands for. One key thing, I put my camera on the self timer/remote setting. I did actually buy myself a remote for $9.99 at my local Target but for some reason I could not get it to work last night but on the self timer/remote setting, when I pressed the snap button, it went through a 10sec countdown and that was the perfect amount of time to get away from the camera so non of my vibrations would shake the photo.
Hope this helps my fellow moon snapshot lovers! If it works for you, share your photos on my facebook page: www.facebook.com/quatapoch
Until next time, Earthlings, have a wonderful creative, picture filled day.
♡ ąlexąnʠяą

.jpg)
.jpg)
.jpg)
.jpg)
.jpg)


No comments:
Post a Comment